Easier PCB Design: EAGLE CAD Tips and Tricks Part 2
Most hobbyists and many professionals use EAGLE CAD as a daily tool in designing schematics and laying out PCB. I’m going to share with you more of the most important tips and tricks for using EAGLE CAD, which make my work much easier and faster.
In part 1, we talked about the importance of issuing commands with your keyboard and using your mouse effectively. In this part, we will continue talking about other useful tips and tricks for using Eagle CAD.
Welcome to the EAGLE CAD tips and tricks series!
Check out our other EAGLE CAD articles here:
- Easier PCB Design: Eagle CAD Tips and Tricks
- EAGLE CAD Tips and Tricks, Part 3
- Extend EAGLE CAD Tool with ULPs: Writing Your First User Language Program
Tip #5: Best Practices to Find the Parts You Need
Before searching on the internet for new libraries to add to EAGLE, first make sure that your device does not already exist in your local libraries. To check, use a search pattern that includes ‘*’.
For example, if you want to add a 7805 5v regulator, you must search for *7805* instead of 7805. This will search for any part with 7805 in the middle of the name, without regard for the beginning or end of the part name.
Certain manufacturers may have their own extensions, and EAGLE search is not smart enough to know these extensions for you. This explains why sometimes search can't pull up a part that you know is present, even when you search in an explicit way. You can see from the below GIF how search results will change using this tip:

If you didn't find your part, or at least a reasonable alternative (for example, an atmega8 device instead of atmega328 device), then try to add public libraries from other popular producers and designers like:
1. SparkFun
2. AdaFruit
4. Element14 EAGLE Cad Lib Search
If the parts you want to use were used in previous open source board, you can export these parts from (File>Export) and reuse them again in your design.
Tip #6: Don’t Always Trust Third-Party Libraries
Keep in mind that unverified parts are always there in the cloud. Especially when you use a library from an untrusted party, you need to make sure that you double-check the footprint and device connection with package pads to avoid errors in your PCB connections.
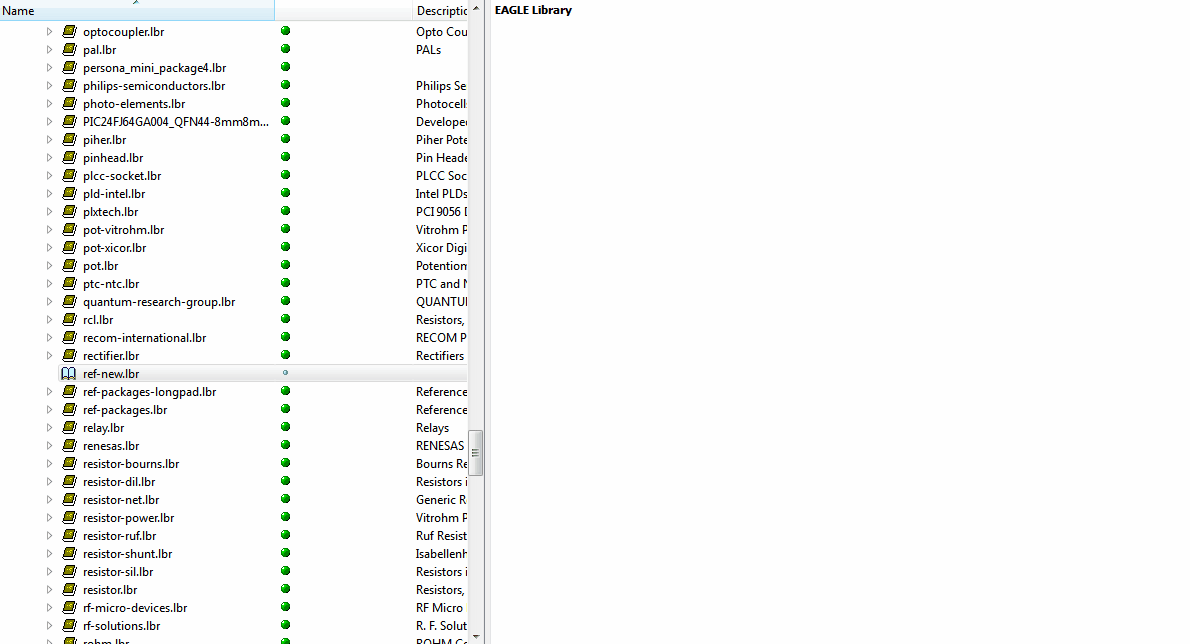
Tip #7: Use the EAGLE Reference Library
When you build your own library, keep in mind that there is a reference library in EAGLE called "Ref-packages.lib". This library has most packages' footprints, which make the creation of new libraries much easier.
Just copy the package to your library, then reuse it again to create a new device. This will save a lot of time and errors.
And now for the "tricks" section.
Trick #4: Ripup All Polygons with One Command
When you work on circuits with applications like high-power signals and you use more than just GND and VCC polygon planes, you can ripup all polygons using one command:
>ripup @ ;

This is much better than ripping up every polygon manually.
Trick #5: Route Your Trace from Any Point You Want
When you route a trace in PCB, you must have an airwire first. EAGLE calculates the shortest path for the airwire and then draws it, but in some cases you need to use a different path than the default one.
You can draw a trace from any point by selecting the route tool and pressing ctrl with left click on the desired point.

Trick #6: Adding a Bar to a Signal Name
You can add a bar to a signal name,active low signal, using this formula:
>name !RES
If you need to add a bar just to a section, then use this formula:
>name !RES!_MCU
Trick #7: Enable/Disable Layers View
When you have your final design of PCB and you need to review it before sending the Gerber files to a manufacturer, a good practice is to review each group of layers individually.
For example, you can review the Top, tPlace, tOrigins, tNames, and tDocu layers, THEN the Bottom, bPlace, bOrigins, bNames and bDocu layers. Instead of choosing every single layer you want, you could disable/enable them using one command: DISPLAY.
The DISPLAY command is used to disable/enable view of the layers. Parameters of this command could be ALL to make all layers visible, or NONE to turn all layers off. You must put the layer name or the layer number as a parameter— when you use a negative sign before your layer name, the corresponding layer will be filtered out.
The following command will make just the Bottom layer visible:
DISPLAY NONE BOTTOM;
The following command will make TOP layer visible and hide BOTTOM layer:
DISPLAY TOP -BOTTOM ;
Here are some commands I formed that I'd like to share with you. I use these each time I review a design:
- Top Layers:
DISPLAY Top tPlace tOrigins tNames tDocu Dimension -Bottom -bPlace -bOrigins -bNames -bDocu;
- Bottom Layers:
DISPLAY Bottom bPlace bOrigins bNames bDocu Dimension -Top -tPlace -tOrigins -tNames -tDocu;
- Complete:
DISPLAY Bottom bPlace bOrigins bNames bDocu Dimension Top tPlace tOrigins tNames tDocu;
- Complete without naming:
DISPLAY -tNames -bNames Bottom bPlace bOrigins bDocu Dimension Top tPlace tOrigins tDocu;
Trick #8: Show the History of Some Icons
There is a useful hidden feature in EAGLE GUI which is shows the history of some icons, like ULP and Open.
So if there is a ULP and you use it in a regular base, you can just right-click on the ULP icon and a menu of the history of recently used ULPs will pop up.

Trick #9: The Renumbers Parts Tool
When you work on big projects and you have a really big schematic, you will need to do a lot of changes by adding and deleting components during verifying phase. This will make some mess in your number of parts.
For example, when you have resistors with numbers from R1 to R50, and you need to delete resistors from R10 to R12 and R25 to R30, R51 will be the number which EAGLE will use when you add the next resistor.
For this reason, EAGLE has a tool, ULP. In fact, ULP can do a renumbering for you instead of doing it manually, which is very hard in big schematics.
You can choose this tool via tools>Renumber parts— or via the ULP icon and selecting "renumber-sheet.ulp".

Learn More
I recommend everyone reads this series of articles on EAGLE CAD, published by Dangerous Prototypes. They have really nice tutorials to master creating libraries and other cool stuff.
And as I said before, make the EAGLE CAD manual your friend. Just press F1 and read!
Next Article in Series: Easier PCB Design: EAGLE CAD Tips and Tricks Part 3