 Facebook
 Google
 GitHub
 Linkedin
The Wi-Fi Eye, Part 1: Introduction, Features, and Materials
Building an animatronic, wearable, Wi-Fi robots, part 1: Programming the controller.
Learn how to build a Wi-Fi-sensing and reporting robot! First step: program your controller.
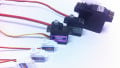
Let’s build some Wi-Fi robots! In this project series, we'll be using incredibly cheap components that you might already have on your bench, such as bare ESP-12 microcontrollers, Neopixels, servo motors, and USB battery banks.
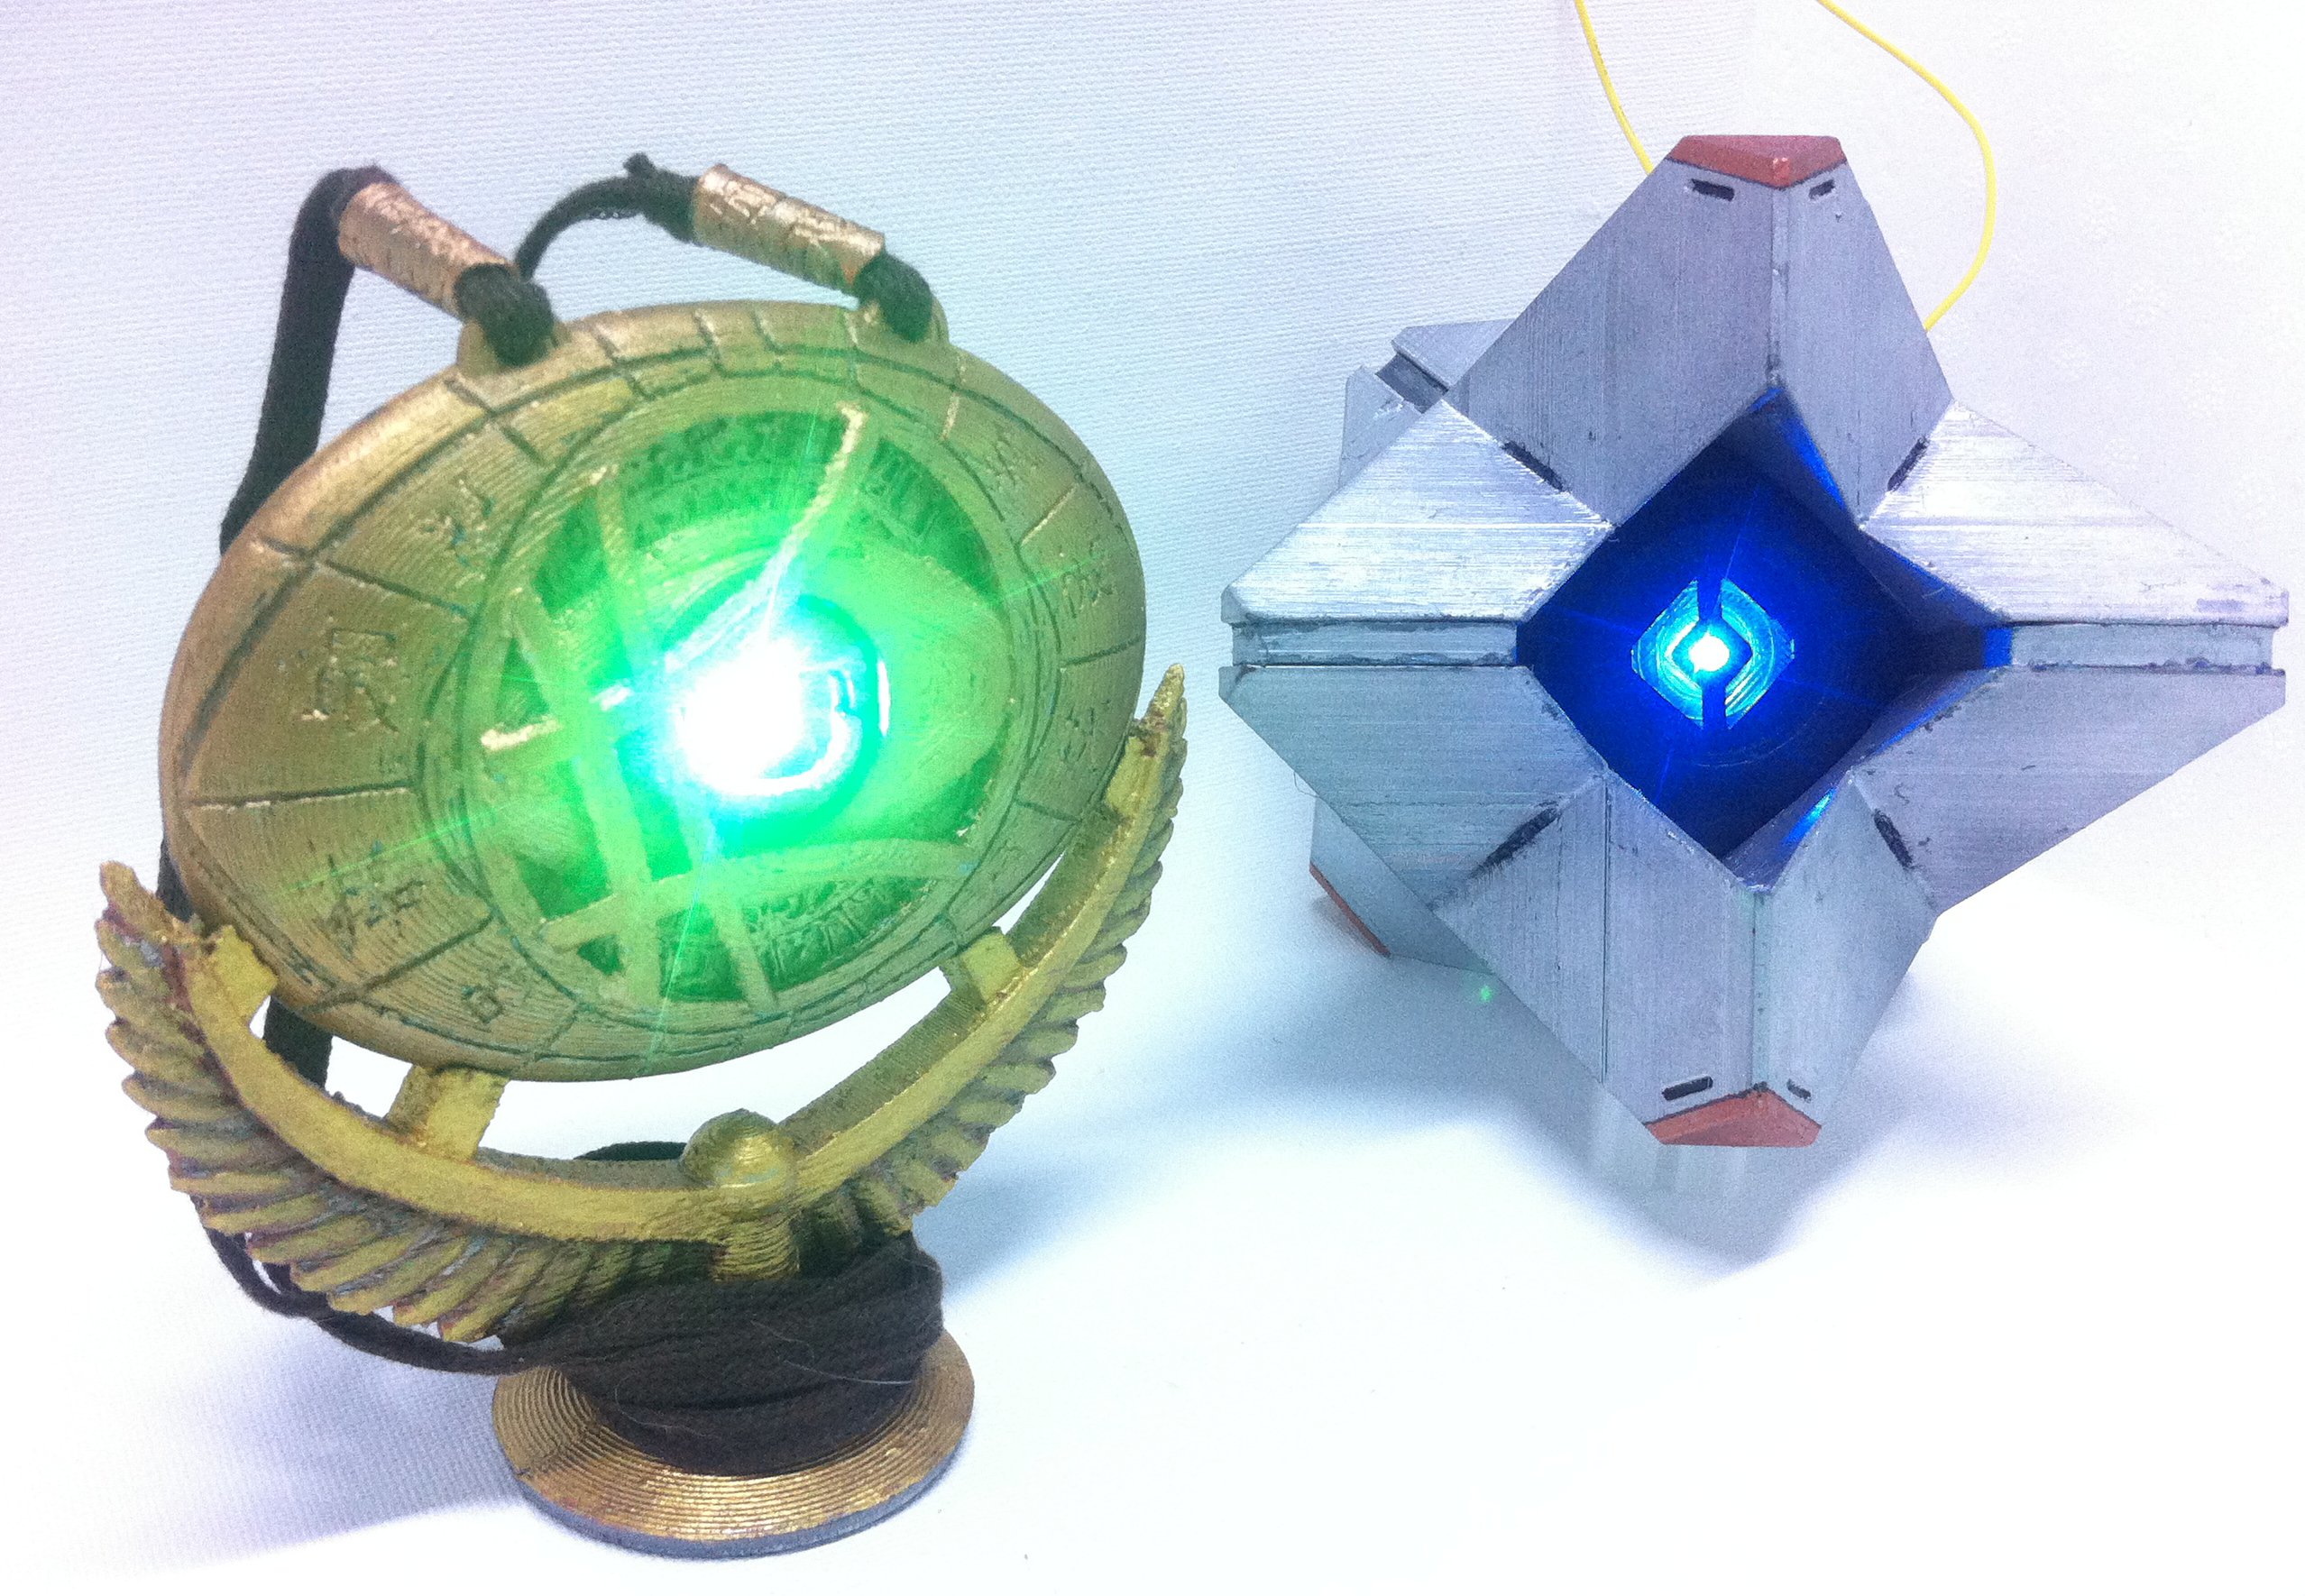
This device constantly scans the local Wi-Fi environment and will change its pose (the lights and servo positions, as well as effects like flickering, pulsing, and random motor ‘twitches’) based on what they “see” and how they “feel” about it. For example, I am sometimes informed when my housemate is nearly home because the Eye will react "happily" when their mobile phone (which is an access point) comes within a block.
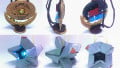
There are two versions of this project to show off how the basic technology can be adapted for your own animatronics and give them a bit of personality. You can read about the 3D printing and assembly on DIY Hacking and I've added links to each build below.

The Eye of Agomotto version uses two nano-servos to open and close the eye (to reveal the ultra-bright Neopixel inside) and a high-capacity battery to make it wearable all day long. It’s an homage to the recent Doctor Strange movie that I very much enjoyed. Technically, it's a war-driving device, although perhaps "war-walking" is more appropriate for a wearable.

The Destiny Ghost version uses a single standard 9-gram servo motor to wag its tail (rotate the back half) the way Ghost companions do in the video game Destiny, which seems to be a cosplay favorite. It is intended to be a fixed installation that hangs from wires, but it could be made portable without too much trouble.
Table of Contents:
- Part 1: Project Introduction and BOM
- Part 2: Firmware, Wiring, and Connectivity
- Part 3: Servos
- Part 4: Power and Neopixel Lights
Also, check out these articles on DIY Hacking that will guide you through 3D printing your own case:
Circuit Diagram
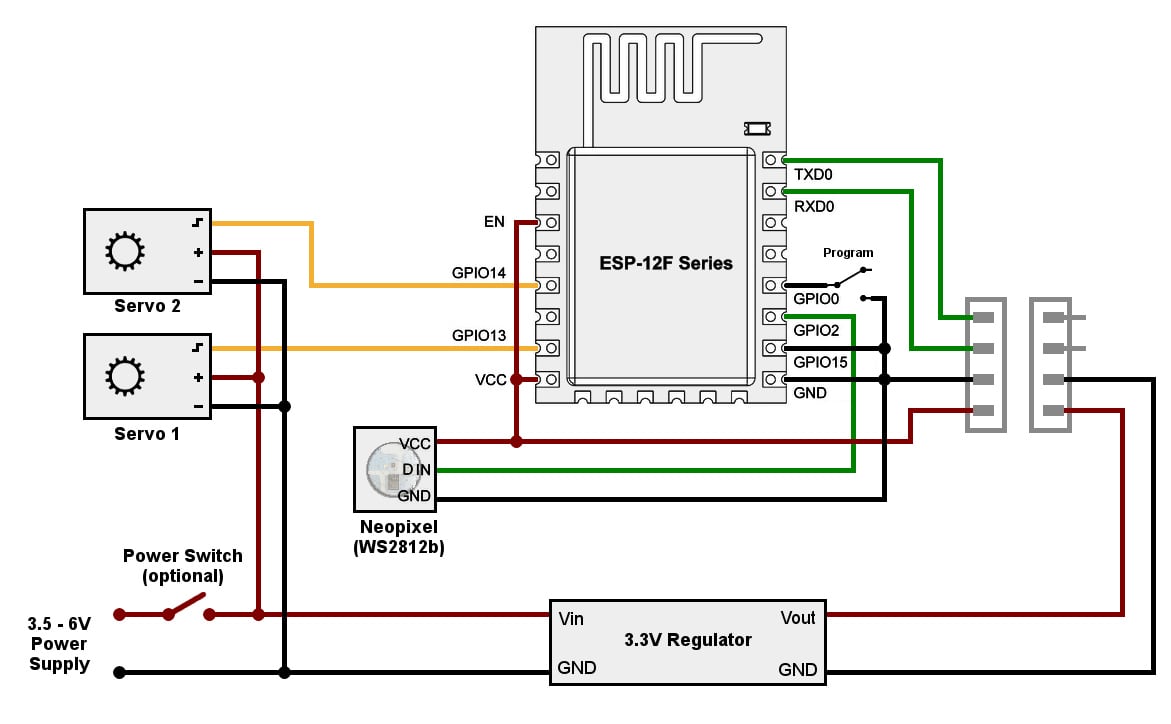
The wiring diagram. Keep in mind that it's preferable to maintain a linear regulator in normal regulation mode, not in dropout. To do this, keep the battery voltage greater than the regulator's output voltage plus the regulator's dropout voltage. Also, check your regulator's datasheet for recommended input and output capacitors.
It's barely a circuit, more a wiring diagram for the various modules. Power comes in from either a battery or fixed supply, is fed to the high-current motors and the voltage regulator, and the output 3.3V rail is provided to the microcontroller and Neopixel. The controller speaks to the components using serial protocols. Most of the features are in the software, which doesn't show up on this particular diagram.
Many of the parts are optional and some of the pins can be re-routed in the software, so this diagram is more of a suggestion than a hard requirement. (Ah, the joy of microcontrollers!)
Parts List
| Part | Price | Notes |
|---|---|---|
| ESP12-F module | $3 | Any ESP module with 4Mb of flash |
| 3.3v FTDI Adaptor | $5 | For programming, not consumed in build |
| AMS1117 3.3v Linear Regulator module | $1 | Any low-dropout regulator will do |
| WS2812b Neopixel | $1 | |
| Small SPST switch (2) | $2 each | For power and programming switches |
| 3-pin / 4-pin / 5-pin mini-JST connectors | $2 | Various connectors as you see fit |
| Zip Ties |
Eye of Agomotto Variant
| Part | Price | Notes |
|---|---|---|
| HK5330S Ultra-Micro Digital Servo (2) | $10 each | |
| 18650 Lithium-Ion 3.7v Battery and charger | $10 | or use a USB Battery Bank |
Destiny Ghost Variant
| Part | Price | Notes |
|---|---|---|
| 9g Micro Servo | $5 | Any kind |
| 22-24awg silicone wire | $2 | For hanging the Destiny Ghost |
All the components can be found from the usual suspects on Ali-Bang-Bay-azon, often in bulk value packs. (Why build one, when you can build two for twice the price?) The ESP-12 is the only irreplaceable component. For everything else, you can use whatever similar-spec'd parts you've got lying around.
Adafruit sells components like the Adafruit Feather HUZZAH which have an ESP12, FTDI adaptor, programming switches, and voltage regulators all on-board. If you're after a quick start (rather than cheap-as-beans plus some assembly required) these look excellent, though I haven't tried them, myself.
Features
Everything is configured through a web admin interface. You can mark other Wi-Fi devices as "friend" or "foe", or assign them individual colors, and your robot will visibly react as they come in and out of range. This also allows you to make devices that “recognize” each other. That will make your ‘bot unique, and by expressing itself physically, the Wi-Fi eye helps you become aware of things you can’t normally sense in the radio spectrum.

It can also keep a log of everything it sees, including signal strength and mac addresses, so it’s good for doing an audit of your local Wi-Fi environment. It detects extra stations, too, because connection lists on most devices have a pointlessly low signal strength cutoff limit, while the Eye reports everything. Don't underestimate this little module!

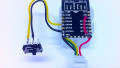
The project is designed around the bare ESP-12F modules you can get online for as little as $3. While the boards from sources like Adafruit are easier to work with (with USB connectors and reset/programming buttons already provided) you can’t really buy them in six-packs for less than the cost of a pizza. And the modules are physically larger, which matters when building tiny droids. Learning how to wire up and flash firmware to these bare-bones modules is a good skill to have and is the focus of the next article in this series.
After that, popping them into the robot is the easy part. You only need to worry about a few LED and servo connections—those are single-wire serial protocols. All the control knobs have been turned into software and all the hard work of writing that software has already been done by me!
Indeed, the code is simultaneously the most expensive component from my point of view, but also the cheapest from yours. Once we’re committed to having firmware at all, I might as well pack as much as I can in there, because the extra is essentially free.
The code will be downloadable in a future article, but you can also take a look here on this GitHub page.
3D Printing
This project is my first published to make heavy use of 3D printing. I’m providing all the STL and design files for both the Destiny Ghost and Eye of Agomotto so people with access to printers can quickly make exactly what I made, and have some confidence it will work. But if you’re familiar with RC model-making or cosplay props, you’ll likely be able to create far more amazing animatronics than I did from styrofoam, paint, and time. (Lots of time.)
All files will be included for download, but I actually recommend using the Thingiverse links instead. Not only will Thingiverse always have the latest version, you’ll be able to upload photos of your builds, see other people’s Remixes, and potentially use the Customizer to tweak model dimensions without having to install OpenSCAD.

Doing IoT Right
The ESP8266 is an incredibly capable microcontroller that hasn’t been explored as well as it deserves. (Except perhaps by Andreas Speiss, "The Guy with the Swiss Accent". I encourage you to watch his YouTube channel.)
Most IoT projects are demos meant to work on the bench. They are unfortunately tethered to both a specific (firmware hard-coded) local access point and the Internet and serve extremely limited single-threaded web interfaces. They usually fail the moment you take them into the field.
A critical issue for IoT web servers is how many simultaneous TCP or HTTP connections they can handle. Most ESP8266 scripting languages like Python or Lua can handle just one. And if you know anything about web development, you’ll know how browsers love loading multiple CSS, JS, fonts, and images files in a burst along with each page.
Many IoT projects wave this issue away by linking out to publicly CDN-hosted files (like jQuery and Bootstrap) so your browser gets them from the internet instead of the device. But what happens when you go camping? Suddenly the web interface breaks because the internet is no longer around to supply the libraries!
For devices to work in the field, they have to carry all their support files with them. They have to serve multiple large (potentially megabyte-sized) files to many users in parallel. And, for extra points, they should support modern real-time web standards like WebSockets.
All this so it can serve a full web interface to any mobiles within range of the Access Point, without dependencies. Oh, and some security would be nice too.
That’s a lot of work. Fortunately, I’ve done it for you already, based on the excellent AsyncTCP library. It is completely over-engineered for the fairly simple tasks this project requires, but it’s designed to be a test-bed for more advanced systems. You’ll be seeing it again in future projects. Hopefully with fewer bugs as time goes on.
AsyncTCP also has a simultaneous connection limit, but it’s set by the ESP networking APIs. Five seems to be a number often reported, but that’s very fuzzy. I just tested six simultaneous browser users (each of which keeps a pair of persistent connections) which imply at least a dozen.
Next Up...
In the next article, we'll go over the firmware, wiring, and network connection required for this device: Part 2.
In the meantime, enjoy this video of the Eye's shell design and construction:
Give this project a try for yourself! Get the BOM.


Fell in love with this project. Nicely detailed instructions and the media support for the text is both alluring and full of interesting details once you begin. Unfortunately, I’m still waiting for the esps from BangAlizon. Have learned much and haven’t even really started! At least one Easter Egg in this project, too. Thanks for bringing this to us!