 Facebook
 Google
 GitHub
 Linkedin
Interface an LCD with an Arduino
You can easily interface a liquid crystal display (LCD) with an Arduino to provide a user interface.
You can easily interface a liquid crystal display (LCD) with an Arduino to provide a user interface.
Liquid crystal displays (LCDs) are a commonly used to display data in devices such as calculators, microwave ovens, and many other electronic devices..
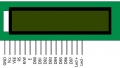
In this tutorial, I will show you how to use a 16x2 LCD with an Arduino. The 16x2 LCD used in this experiment has a total of 16 pins. As shown in the table below, eight of the pins are data lines (pins 7-14), two are for power and ground (pins 1 and 16), three are used to control the operation of LCD (pins 4-6), and one is used to adjust the LCD screen brightness (pin 3). The remaining two pins (15 and 16) power the backlight.The details of the LCD terminals are as follows:
| Terminal 1 | GND |
| Terminal 2 | +5V |
| Terminal 3 | Mid terminal of potentiometer (for brightness control) |
| Terminal 4 | Register Select (RS) |
| Terminal 5 | Read/Write (RW) |
| Terminal 6 | Enable (EN) |
| Terminal 7 | DB0 |
| Terminal 8 | DB1 |
| Terminal 9 | DB2 |
| Terminal 10 | DB3 |
| Terminal 11 | DB4 |
| Terminal 12 | DB5 |
| Terminal 13 | DB6 |
| Terminal 14 | DB7 |
| Terminal 15 | +4.2-5V |
| Terminal 16 | GND |

Experiment 1
In this experiment, we will interface a 16x2 LCD with Arduino Mega 2560 and display some text on the LCD.
Hardware Required
- 1 x 16x2 LCD
- 1 x Arduino Mega 2560
- 1x 5k ohm potentiometer
- female connectors
- jumper wires
Wiring Diagram
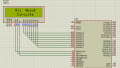
In this circuit, the LCD terminals are connected to the Arduino pins according to the table below. Connect the outer two terminals of the potentiometer to 5V and ground, and the middle terminal to pin 3 of LCD. Rotating the potentiometer controls the brightness of the LCD backlight. The LCD back light pins are connected to 5V and ground as shown in the diagram below:
DB4----->pin4
DB5----->pin5
DB6----->pin6
DB7----->pin7
RS-----> pin8
EN-----> pin9


Code
#include "LiquidCrystal.h"

// initialize the library by providing the nuber of pins to it
LiquidCrystal lcd(8,9,4,5,6,7);

void setup() {
lcd.begin(16,2);

// set cursor position to start of first line on the LCD
lcd.setCursor(0,0);
//text to print
lcd.print("   16x2 LCD");
// set cusor position to start of next line
lcd.setCursor(0,1);
lcd.print("   DISPLAY");
}
void loop()
{}Experiment 2
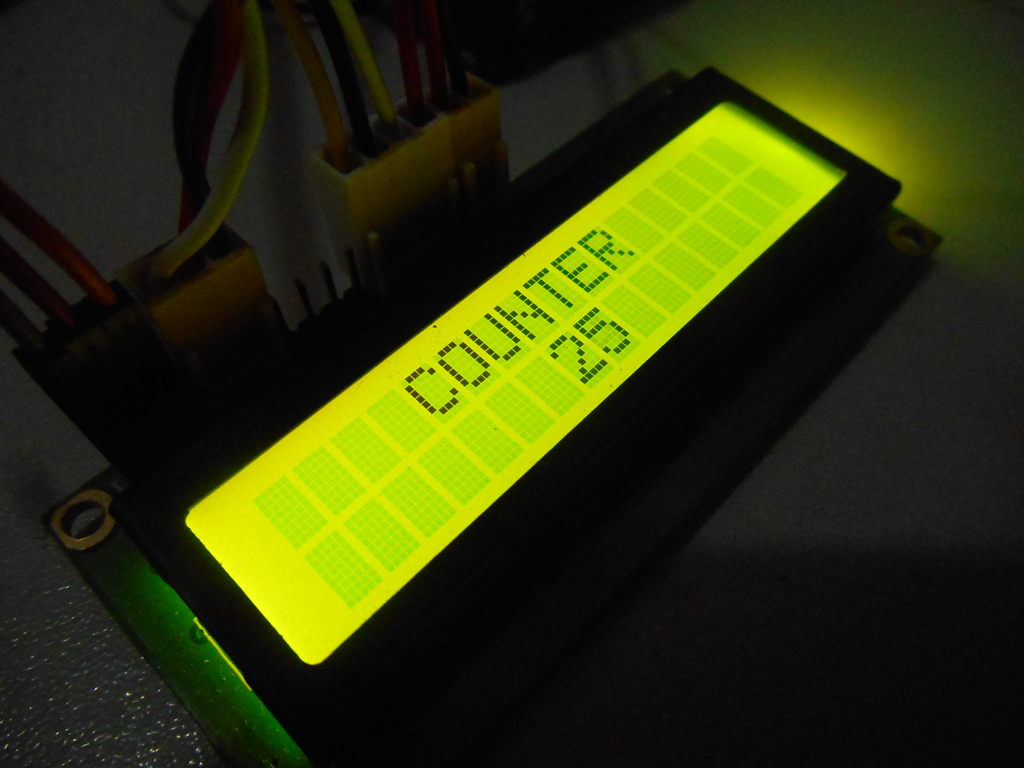
In this experiment, we will display the 'value of' counter in the Arduino. It will count the number of seconds, up to a value of 100.
Hardware Required
The hardware required for this experiment is the same as for Experiment #1.Wiring Diagram
The circuit for this experiment is the same as for Experiment #1.
Code
#include "LiquidCrystal.h"

// initialize the library by providing the nuber of pins to it
LiquidCrystal lcd(8,9,4,5,6,7);

void setup() {
lcd.begin(16,2);

// set cursor position to start of first line on the LCD
lcd.setCursor(0,0);
//text to print
lcd.print("    COUNTER");
delay(100);

int a=0;
lcd.setCursor(0,1);
lcd.print("       ");
lcd.print(a);
while(a<=100)
{
  a=a+1;
  delay(1000);
  lcd.setCursor(0,1);
  lcd.print("       ");
  lcd.print(a);
}
}
void loop()
{
  lcd.clear();
}Videos
Give this project a try for yourself! Get the BOM.


my mac says ‘could not create the sketch’
This is a good article and will be very much useful to beginners. Using LCD shield is the best option.