Facebook
 Google
 GitHub
 Linkedin
Servo Control with Arduino Through MATLAB
Use MATLAB to write a program to control a servo motor connected to an Arduino.
Use MATLAB to write a program to control a servo motor connected to an Arduino.
The MATLAB Support Packages for Arduino lets you use MATLAB to write programs for the Arduino. Support packages are available for 32-bit and 64-bit Windows, 64-bit Mac OS, and 64-bit Linux.
Installing Packages
To install packages MATLAB Arduino support packages, start MATLAB and click Add-Ons > Get Hardware Support Packages. Select the package you want to install and follow the installation instructions in the installer window.

Once the packages are installed, connect your Arduino to the PC with a USB cable and run the following command:
>> a = arduino()
At this point, MATLAB will attempt to communicate with the Arduino. If it is successful, the display will read something like this:

This display shows that my Arduino Uno is connected to COM3. If MATLAB was unable to connect to the Arduino, an error message will be displayed.
Circuit Diagram
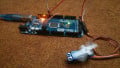
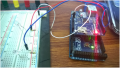
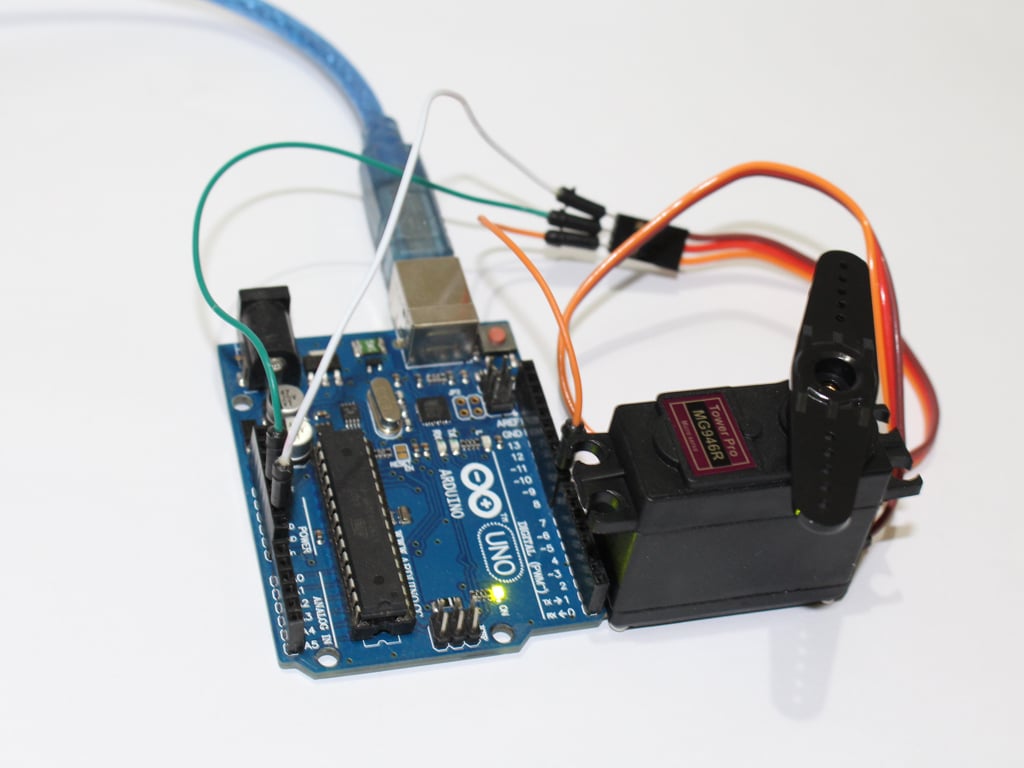
The circuit for this experiment is simply a servo motor with power, ground, and control inputs connected to the Arduino as shown in the figure below:

Functions
The MATLAB functions we are going to use are:
writePosition(motorObject, angle)
readPosition(motorObject)
As the name suggest, writePosition() command is used to rotate servo motor shaft to a specific angle and readPosition() command is used to read the current position of shaft.
We will create the servo motor object with the command:
servo_motor = servo(arduinoObject, pinAtWhichServoIsAttached)
Code
% port at which your arduino is connected

port = 'COM3';

% model of your arduino board

board = 'Uno';

% creating arduino object with servo library

arduino_board = arduino(port, board, 'Libraries', 'Servo');

% creating servo motor object

servo_motor = servo(arduino_board, 'D8');

% loop to rotate servo motor from 0 to 180

for angle = 0:0.2:1

   writePosition(servo_motor, angle);

   current_position = readPosition(servo_motor);

   current_position = current_position * 180;

   % print current position of servo motor

   fprintf('Current position is %d\n', current_position);

   % small delay is required so that servo can be positioned at the

   % angle told to it.

   pause(2);

end

% bring back motor to 0 angle position

writePosition(servo_motor, 0);
servo_control_through_matlab.m.zip
Make sure there is no previous object of Arduino stored in MATLAB, otherwise MATLAB will display an error message. Either clear servo and arduino objects in your script file or run clear all in the command window before running the sketch.
Steps
- Run MATLAB and install hardware support packages if you are using arduino with MATLAB for the first time.
- Connect the circuit as shown in the circuit diagram.
- Connect servo power pin to 5V pin on your arduino.
- Connect servo ground pin to GND pin on your arduino.
- Connect servo data pin to digital pin 8 on your arduino board.
- Write your m-file and run it, MATLAB will burn that m-file to your arduino board.
- Your motor will start to rotate from 0 to 180 and then come back to 0 degree.
Give this project a try for yourself! Get the BOM.