Facebook
 Google
 GitHub
 Linkedin
How to Write Assembly Instructions for Programming a 32-bit ARM Core with a Raspberry Pi
This article explores the basic instructions needed to program a 32-bit ARM core, while building a foundational understanding of the micro-architecture.
This article explores the basic instructions needed to program a 32-bit ARM core, while building a foundational understanding of the micro-architecture.
Assembly has a bad rap in today's modern tech culture. Due to large amounts of RAM and processing power, high-level languages like C# and Python have paved the way for huge levels of abstraction. In some cases, this has vastly improved productivity, yet in others has left an entire generation of programmers oblivious to what their code actually does.
In this article, we'll use the foundation in assembly that you can build off of, while using one of the most widespread architectures there is. That being said, this article is targeted for those with little experience writing low-level code. I wrote this assembly on a Raspberry Pi, using Raspbian, due to its popularity and ease of use.
Supporting Information:
- What Is a Microarchitecture? Understanding Processors and Register Files in an ARM Core
- How to Write Assembly Language: Basic Assembly Instructions in the ARM Instruction Set
- The Electrical Engineer’s Guide to Instruction Set Architectures (ISAs)
- A Rundown of x86 Processor Architecture
Why Learn to Code in Assembly Language? The Pilot's Seat
Before we delve into our example program, let's talk a bit about why assembly code is worth your while.
The reality is that a processor is built to run instructions. Assembly code is the human-readable representation of those instructions and is typically the closest a person can get to machine code.
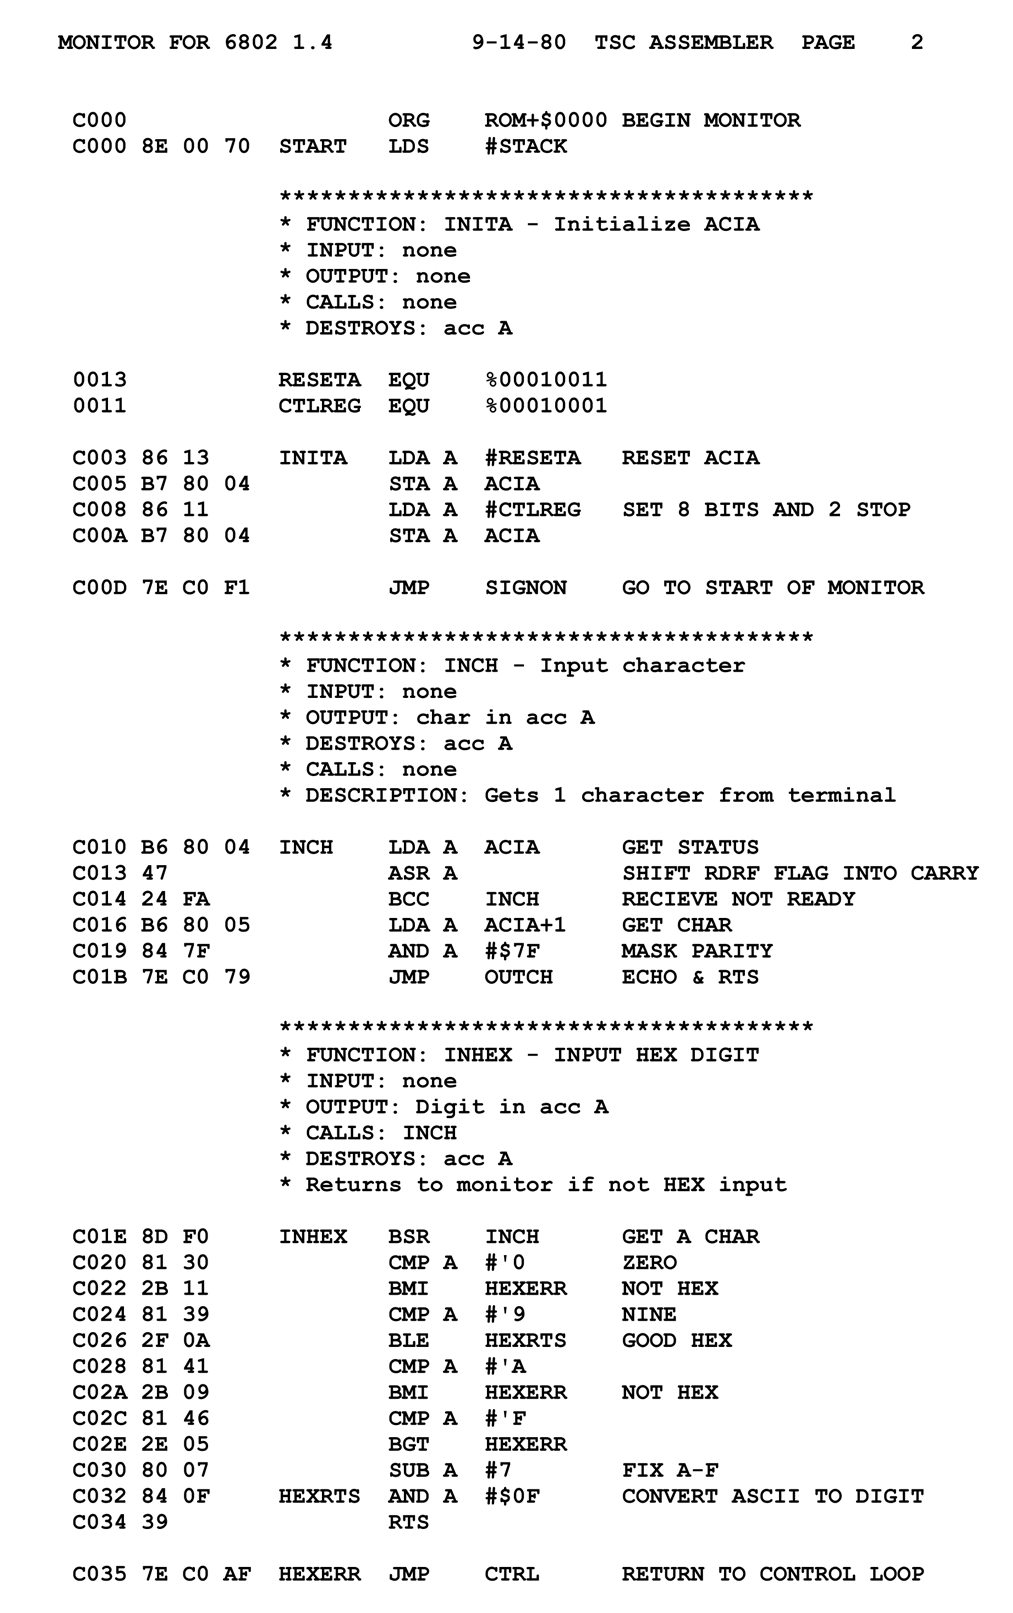
Figure 1. An example of assembly language from the Motorola 6800 8-bit microprocessor. Image used courtesy of Michael Holly. Click to enlarge.
By knowing assembly, you understand exactly how a particular processor works because you can see what it does with each bit in each instruction. Writing assembly puts you in the pilot seat. It enables you to control the machine at the lowest level, while at the same time gaining insight into how the machine works.
Would you want to fly in a plane with someone who's never actually sat in the cockpit? Sure, they've mastered the simulator; but there's nothing quite like the real thing.
How to Use a Raspberry Pi and Linux to Assemble and Execute an Assembly Program
Let's do a quick run-through on using the Raspberry Pi to assemble and execute a program.
Since we're using the Raspberry Pi, we're dealing with a 32-bit ARM core. As noted in the previous article, this means we've focused on 32-bit ARMV7 instructions and 32-bit registers. (Note: Later versions of the RPi running Raspbian use a 64-bit ARMV8 processor but run it in 32-bit mode just like the older V7 versions.)
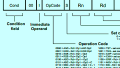
The assembler expects directives to understand how your program is laid out. It then uses labels for moving to different locations. The program shown above represents the basic structure we'll use in our assembly program. For more on the GNU Assembler, here is a quick reference guide.
Step 1: Save Your Code Appropriately
The Linux command line is the simplest way to assemble your program.
Open a terminal either by typing ctl+alt+t or by navigating through the Raspbian user interface to a command terminal. Your source code should be written in a text editor and saved with a “.s” extension.
Once the file is saved in a directory it can be assembled and linked.
Step 2: Assemble Your Program into an Object File
Below, we start with an assembly program called “myProg.s” (linked as a downloadable .zip file at the end fo the article) and assemble it into an object file called “myProg.o”.
Step 3: Create an Executable
Next, we use the linker to turn the object file into an executable, “Program” in this case.
Step 4: Run the Program
Lastly, we run the program.
as -o myProg.o myProg.s
ld -o Program myProg.o
./Program
Step 5: Exit the Program
The last part under the exit label is a system call used by the Raspbian operating system to exit the program.
_exit:
MOV R7, #1 @ Set R7 for syscall exit
SWI 0 @ execute syscall exit
An example program has been included at the end of this article for you to get started.
Better Understand Your Processor, Write More Efficient Code
Over the last couple of articles, we introduced some of the basic instructions used in the ARM instruction set. We investigated the ARM register file and where it resides within a processor's microarchitecture. We also examined what an instruction looks like at the bit level and how the assembly mnemonics get encoded into these bits.
Now we've synthesized this information into an applicable situation.
The end goal here was to whet your appetite. Writing assembly is still coding, but at the lowest level possible. In this way, you can actually get an idea of what a processor is doing with your program. By knowing the assembly for a given processor, you can implement incredibly efficient code, perform low-level configuration, or build a super thin operating system. More and more embedded devices use an ARM core and the code running on these devices has to be as efficient as possible.
As high-level languages continue to abstract away what a computer does, fewer engineers and programmers will understand how their system really works. Whether you're interested in digital design or embedded systems, knowing assembly gives you a level of understanding that will make tough problems easier and complicated designs more straightforward.
You can download the example ARM assembly code below:
Related Content